
Last updated October 16, 2026
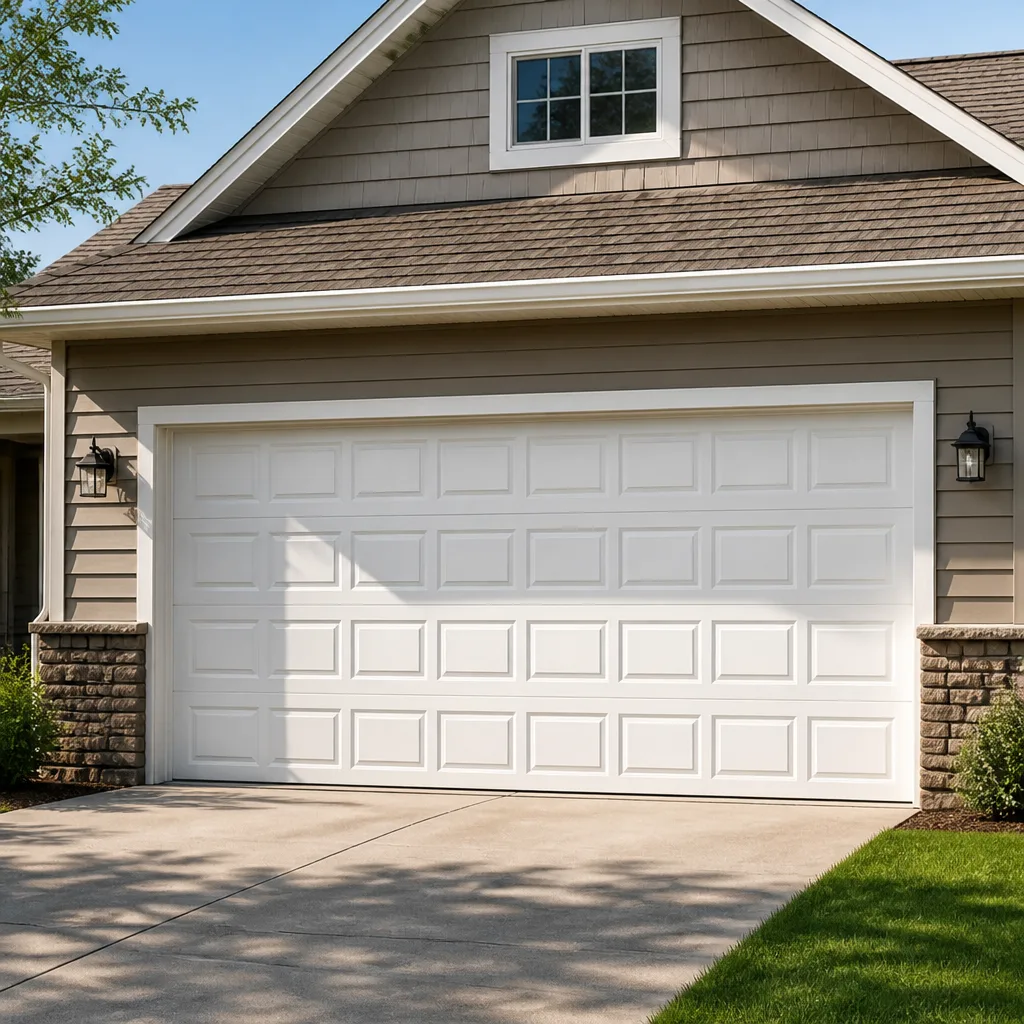 Raised-panel steel
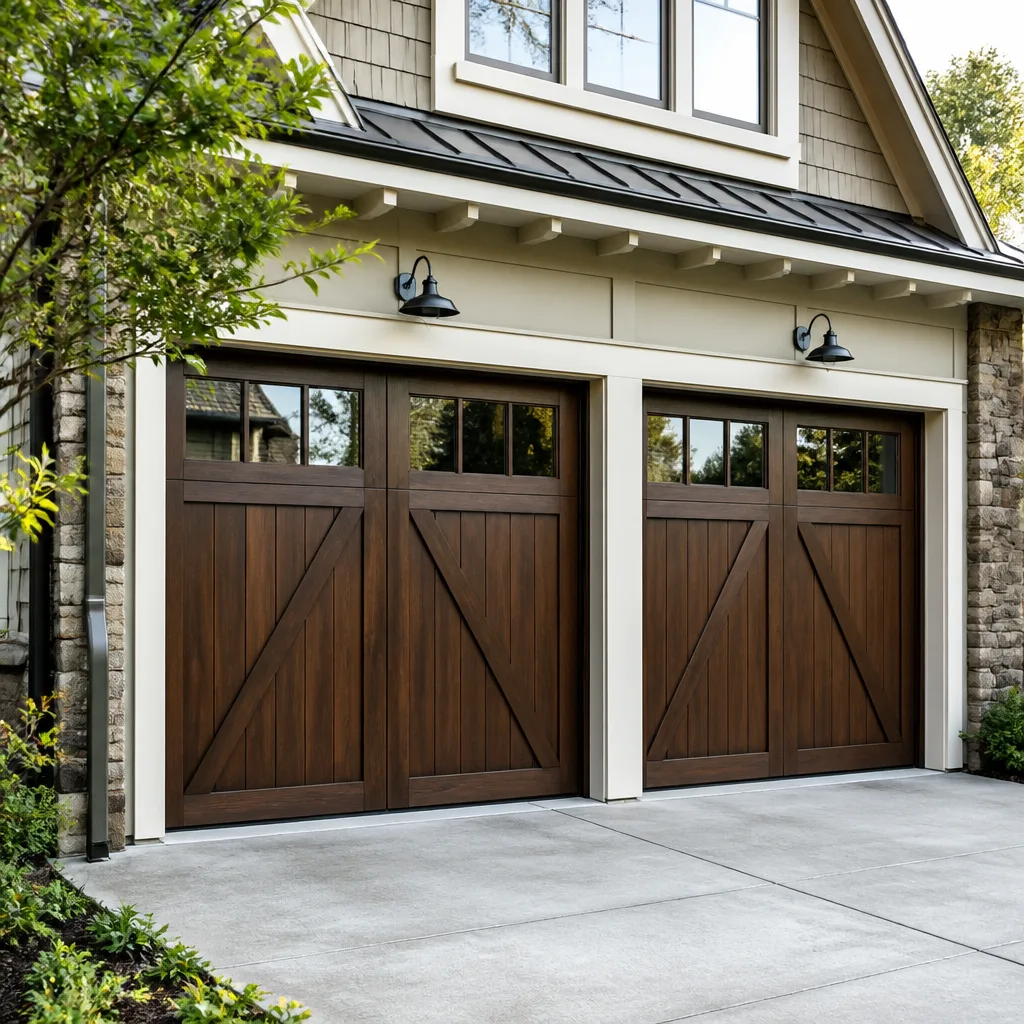 Carriage house
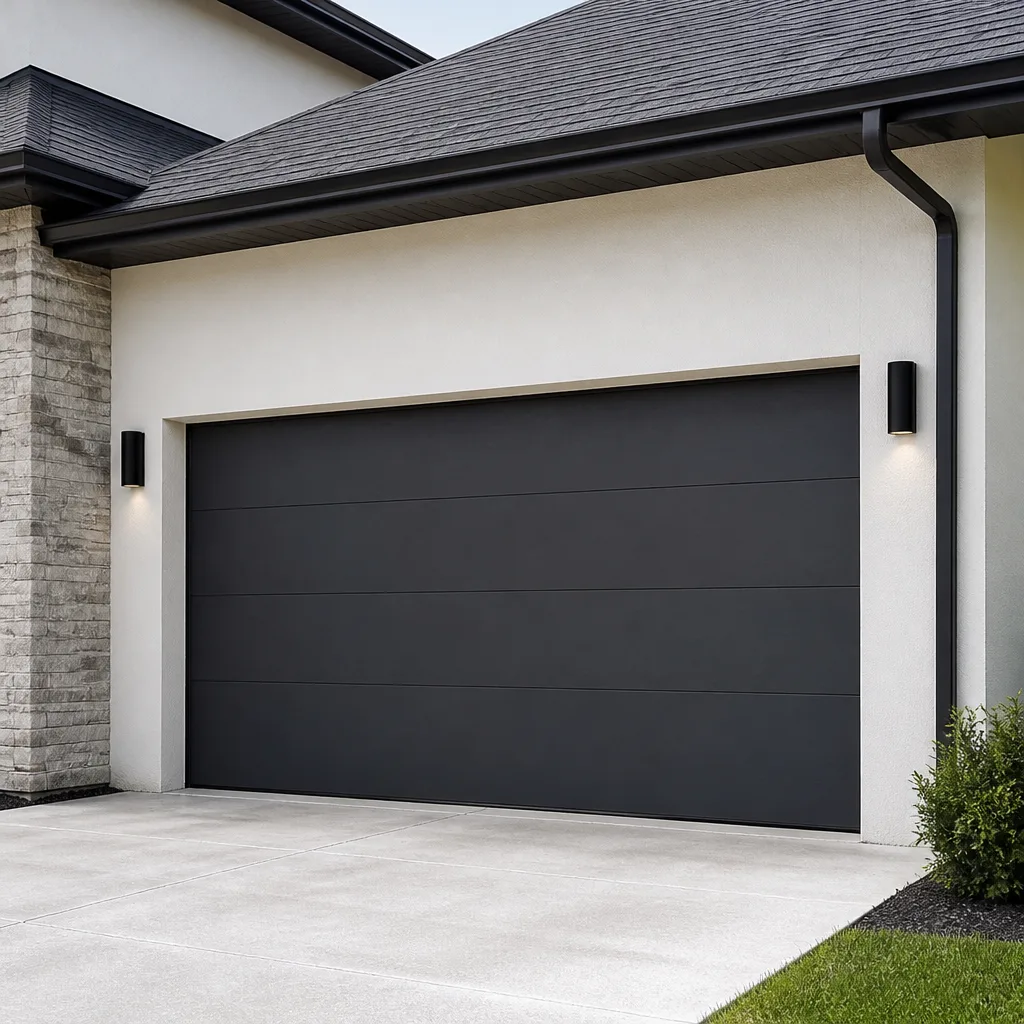 Modern flush
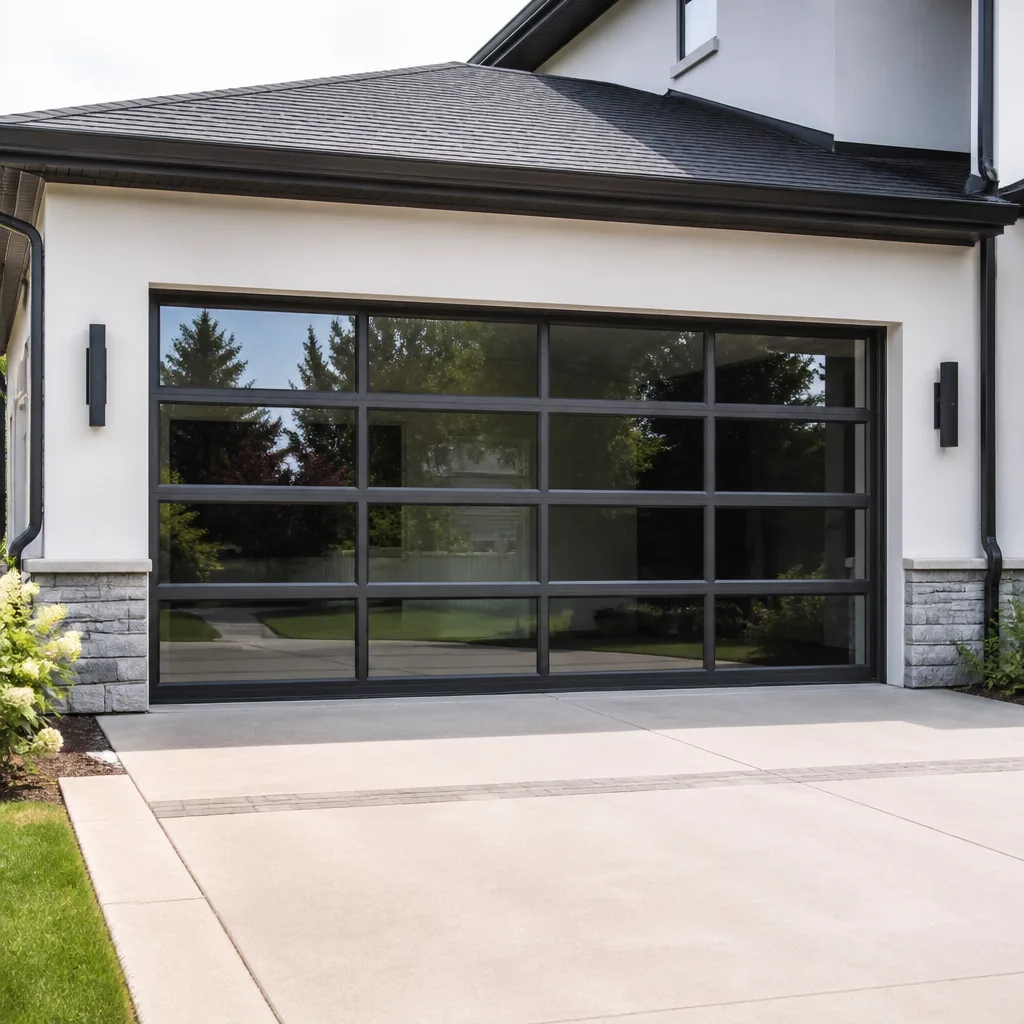 Full-view glass
 LiftMaster openers
 Chamberlain openers
Full 25-point door and opener safety check with every visit - springs, cables, rollers, tracks, and your LiftMaster or Chamberlain opener included
You get a price before we start. It does not change when the truck arrives.
Get your free estimateDIY vs Professional Garage Door: The Hempstead Homeowner’s Decision Guide
Here’s a number most Hempstead homeowners never hear until it’s too late: the average torsion spring on a residential garage door holds between 100 and 250 pounds of torque per spring, wound tight enough to lift a 150 to 300 pound door thousands of times. When that spring releases without a winding bar seated properly in the cone, the bar becomes a projectile moving faster than you can react. In Hempstead, where attached garages on homes built from the 1940s through the 1990s make up most of the housing stock, the DIY question isn’t about whether you’re handy. It’s about whether the specific task in front of you carries mechanical danger that no amount of YouTube preparation eliminates. This guide draws the line task by task.
Quick Answer
Most garage door maintenance in Hempstead is safe for a careful homeowner: lubrication, track cleaning, sensor alignment, weather seal replacement, and tightening visible hardware. But anything touching torsion springs, lift cables, or the door’s counterweight system is professional-only work. Those components carry stored mechanical energy that injures people every year, and the specialized tools required cost more than the service call itself.
Styles & brands we work with
Table of Contents
- The DIY Line: What Actually Makes a Task Dangerous
- Task-by-Task Breakdown: Owner, Borderline, and Professional
- Tools: What You Already Own vs What Actually Costs Money
- Nassau County Permits: What DIY Installation Triggers
- The Honest Cost Comparison: When Hiring Out Saves Money
- How to Be a Better-Informed Owner When You Hire Out
- Hempstead-Specific Factors That Change the Equation
- Common Mistakes to Avoid
The DIY Line: What Actually Makes a Task Dangerous
The DIY versus professional question for garage doors isn’t about skill level. It’s about stored energy. A torsion spring, the thick coiled spring mounted above the door, doesn’t just hold tension. It stores hundreds of pounds of it, wound in quarter-turn increments, waiting to release. Extension springs, the kind that run along the horizontal tracks on older doors, store the same energy in a different form. Lift cables under load carry the full weight of the door. A cable that snaps while the door is up releases that weight in a fraction of a second.
In our experience servicing doors across Hempstead, from the Colonials near Hofstra to the split-levels off Peninsula Boulevard, the homeowners who get hurt are rarely the ones attempting full spring replacement. They’re the ones who try a “quick adjustment” on a part they don’t fully understand. They loosen a bolt on a bracket that’s under tension. They remove a cable from a drum without securing the door. The injury isn’t a failed repair. It’s a release of force they didn’t know was loaded.
Here’s the line we draw, and it’s the line this guide uses throughout: if the component you’re about to touch is under spring tension or bearing the door’s weight, you don’t touch it. If the component is passive, meaning it’s not holding any load when the door is in the position you’re working on it, it’s generally fair game for a careful owner.
That distinction matters more than any general “handiness” assessment. A general contractor who’s great at framing walls has no business touching a torsion spring without the specific tooling and reps. A homeowner who can barely hang a picture can safely lubricate hinges and clean safety sensors. The task determines the risk, not the person.
Task-by-Task Breakdown: Owner, Borderline, and Professional
Here’s the breakdown that most guides skip. Each task falls into one of three categories: owner-appropriate without hesitation, owner-possible with research and the right tools, or professional-only. The reason for each professional designation is specific, not a blanket “call a pro” disclaimer.
Owner-Appropriate Tasks
- Lubrication of rollers, hinges, and tracks. White lithium grease on hinges and rollers, a light silicone spray on the track where the rollers ride. Nothing under tension when the door is down. Takes 20 minutes.
- Track cleaning and inspection. Wipe the vertical and horizontal tracks with a dry cloth. Look for gaps between the track and the mounting brackets. If a bracket is loose, tighten the lag bolts while the door is closed and no weight is on the track.
- Safety sensor alignment. The photo eyes near the bottom of each track need to see each other. Clean the lenses with a dry cloth. Loosen the wing nut holding the sensor, adjust until the indicator light goes solid, retighten. No stored energy involved.
- Weather seal replacement. The rubber strip along the bottom of the door slides into a channel. Pull the old one out, slide the new one in. The door stays closed the whole time.
- Balance testing. Pull the release cord to disconnect the opener, then lift the door manually. It should stay at knee height on its own, stay at shoulder height on its own, and need effort to close from the top. If the door drops or slams, the springs are out of balance. Recording this test result is useful whether you call us or fix it another way.
Owner-Possible With Research
- Opener remote and keypad reprogramming. Most LiftMaster, Chamberlain, Genie, and Craftsman openers have straightforward button-press sequences. The owner’s manual tells you exactly what to do. No tools, no tension, no danger. If you’ve lost the manual, the model number plus “manual” in a search gets you the PDF.
- Opener force and travel limit adjustment. This is the point where caution starts. If the door reverses when it shouldn’t or doesn’t reverse when it should, the limit screws on the opener motor unit adjust travel distance and force. But these adjustments interact with the door’s balance. If the springs are failing, no amount of opener adjustment fixes the problem, and increasing force to compensate for a heavy door is how doors get damaged. If you make this adjustment and the door still strains, stop and check the balance test above.
- Roller replacement on non-bottom brackets. The rollers on the sides of the door can be replaced one at a time. The bottom roller bracket, though, is under cable tension. That one’s professional-only. Side rollers with the door closed are mostly passive, but you’ll need a flat pry bar to pop the old roller out of its hinge, and you need to know which hinge type you’re dealing with. Research first.
Professional-Only Tasks
- Torsion spring replacement or adjustment. The reason is physics, not skill. Torsion springs are wound under 100 to 250 pounds of torque each. The winding bars are a half inch in diameter and fit into quarter-inch holes in the winding cone. If the bar slips out under load, it spins with enough force to shatter bone. The springs store enough energy that a failure during winding or unwinding sends the bar flying. This is the single most dangerous repair on a residential property, and it’s the one we get the most calls about after a failed DIY attempt.
- Extension spring replacement or adjustment. Older Hempstead doors, especially on homes built before 1980, use extension springs that stretch along the horizontal tracks. When one snaps, the broken end becomes a metal whip. Replacement requires the door to be raised and secured, the old spring to be removed under controlled tension, and a safety cable to be installed inside the new spring to contain it if it breaks later. Most extension spring systems on original Hempstead doors lack the safety cable entirely.
- Lift cable replacement or adjustment. The cables connect the bottom of the door to the drum or spring system. They carry the door’s entire weight whenever it moves. If you remove a cable while the door is up, the door comes down with gravity’s full force. If you loop a cable incorrectly on the drum, the door climbs unevenly and can throw itself off the track.
- Track removal or major track work. Vertical track replacement requires the door to be unloaded from the springs, which means the springs come off first. That circles back to the torsion spring danger. No professional touches track without unloading the door first, and unloading a door means handling the springs.
- Full door panel replacement. A single damaged panel can sometimes be swapped, but matching the panel profile and color on a 10-year-old door is genuinely hard. Full door replacement means the old door comes down, the springs get reset for the new door’s weight, and the whole system is re-tuned. The weight of a new door is rarely the same as the old one, and spring calibration is not a guess-and-check process.
Tools: What You Already Own vs What Actually Costs Money
The tool question is where cost comparison gets honest. Most Hempstead homeowners own the basics: a socket set, screwdrivers, a level, a step ladder, maybe a drill. The owner-appropriate tasks above use exactly those tools. That’s why they’re owner-appropriate. The professional-only tasks require equipment that doesn’t just cost money, it costs money and then sits in your garage for years.
The DIY Tool Inventory for Safe Tasks
- White lithium grease or a garage door-specific lubricant spray: $8 to $15
- Socket set with 3/8-inch and 7/16-inch drive sizes: already owned or $25 to $40
- Step ladder tall enough to reach the opener rail: already owned or $40 to $80
- Flat pry bar for roller removal: $12 to $20
- Dry cloths or rags: already owned
Total for the tool-required owner tasks: under $100 if you have nothing but a socket set. The skills required are minimal, and the consequences of a mistake are low, like a roller popping out that you can pop back in. This is genuine homeowner territory.
The Professional Tool Inventory for Tension Work
- Winding bars sized to the specific spring cone: $30 to $60 for a set, and using a screwdriver or rod that isn’t the right diameter is how the bar slips
- Spring gauge to match the new spring to the door weight and height: $20 to $40, and getting this wrong shortens the new spring’s life from 10,000 cycles to under 1,000
- Cable pullers and come-alongs for lifting the door off the springs: $80 to $150
- Torque wrench for consistent winding: $50 to $120
- Drum and cable fixtures for on-door work: $60 to $100
Total for a single spring replacement with the right tools: $240 to $470 in equipment you’ll use once. And that assumes you buy the correct spring gauge, which requires knowing the door’s exact weight, height, track radius, and cycle rating. Get the spring wrong and the door either won’t lift or slams on the way down.
The companies doing this work daily, including our team at Brock Garage Doors Hempstead home, carry those tools on the truck along with the full range of spring sizes for Amarr, Wayne Dalton, Clopay, and every other major brand. The equipment cost is amortized across hundreds of jobs, not concentrated in your first one.
Nassau County Permits: What DIY Installation Triggers
Here’s what most DIY guides never touch: Nassau County has a building permit requirement for garage door installation, and it applies regardless of who does the work. For details, see our guide to Garage Door Permits, Codes & Inspections in NY: What You Need to Know. The permit is issued by the local building department, and the fee runs in the $100 to $300 range depending on the scope and the jurisdiction’s current schedule. A door replacement that keeps the same opening size and doesn’t modify the structure is classified as an alteration, and it still requires a permit in most Hempstead jurisdictions.
What triggers the permit:
- Full door replacement. Removing the old door and installing a new one is a permitted alteration. No carve-out exists for “I did it myself.”
- Modifying the opening. Enlarging or reducing the rough opening, changing the header, or altering the framing is structural work and requires architectural drawings plus a permit with inspections.
- Installing a door where none existed. This is new construction, not an alteration, and the permit requirements are more extensive, including a framing inspection before the door goes in.
What happens if unpermitted work is discovered at sale: the title search doesn’t catch it, but the home inspection does. A buyer’s inspector who sees a new door with no corresponding permit can flag it, and the buyer can demand the seller pull a retroactive permit, which means an inspection of work that’s already closed up. If the work fails inspection, the seller pays to correct it or the deal stalls. In a Hempstead market where homes move through contracts quickly, we’ve seen closings delayed by exactly this scenario.
Our advice: if you’re replacing a door, call the Hempstead building department before you start. Ask if a permit is required for your scope. The answer varies by jurisdiction within the town, and the only reliable answer comes from the department itself. For spring, cable, and opener repairs that don’t alter the door or the opening, permits aren’t required, and that’s where most of our service calls through Garage Door Repair in Hempstead fall.
The Honest Cost Comparison: When Hiring Out Saves Money
The math changes depending on the task. Let’s run the numbers for the three most common borderline decisions.
Task One: Lubricate and Clean
DIY cost: $15 for lubricant, 30 minutes of time. Professional cost: $85 to $125 for a service call that includes lubrication, balance testing, and a full inspection. Verdict: DIY all day. This is owner territory, and the inspection value of a pro isn’t needed if you’re already keeping the door maintained and watching for changes. For a full list of what to check, see our Garage Door Repair Maintenance Checklist for Hempstead Homeowners.
Task Two: Sensor Misalignment
DIY cost: zero dollars if you own a cloth and a screwdriver. 15 minutes. Professional cost: $100 to $150 for a service visit that covers the sensor plus any other adjustments the tech finds. Verdict: DIY. Green light blinking is usually the lens or the alignment. If you’ve cleaned the lens, confirmed the sensors are pointed at each other, verified the wiring isn’t damaged, and the door still won’t close, then call. That’s the boundary between owner-appropriate and electrical diagnosis.
Task Three: Torsion Spring Replacement
DIY cost: $60 to $120 for the spring itself if you guess the right size, plus $240 to $470 in tools, plus 3 to 6 hours of work, plus the real cost of getting it wrong. A mis-wound spring can damage the door, the cables, and the opener gears, turning a spring job into a $1,200 system repair. And the medical cost of a winding bar incident starts with an ER visit and a hand specialist.
Professional cost in Hempstead: $180 to $340 depending on spring size, door weight, and whether it’s a single or double spring system. That price includes the spring, the labor, the calibration, and the cleanup. At Garage Door Repair in Hempstead, the price is written down and handed to the homeowner before a single bolt turns, and the repair carries a 365-day written guarantee. If the replacement spring fails inside that year, the follow-up call is free.
Verdict: hiring out is cheaper once you account for the real cost of the tools and the risk of a partial repair. The DIY savings only materializes if nothing goes wrong, and the downside of something going wrong on a torsion spring is not a higher number on a credit card statement. It’s the reason this guide keeps repeating the same warning.
Most cable repairs run $150 to $275, depending on cable type and drum condition. The cable itself is an inexpensive part. The labor involves unloading the door from the springs, which means the springs come off and go back on. That’s the professional labor, and it’s non-negotiable from a safety standpoint.
How to Be a Better-Informed Owner When You Hire Out
Even if you never touch a winding bar in your life, knowing what good work looks like changes the entire service experience. Here’s what to watch during a repair, what to ask before it starts, and how to verify it before the tech leaves.
What to Watch During the Repair
- The technician secures the door before touching springs or cables. The door should be locked in place with vice grips on the track above a roller before any tension component is touched. If the tech goes straight for the spring without securing the door, that’s a red flag.
- The winding bar is the right size. A technician’s winding bars are solid steel rods that fit the cone holes exactly. If you see a screwdriver or an Allen wrench going into the winding cone, stop the work. That’s an amateur move that puts everyone in the garage at risk.
- The parts match the door. The new spring should be the same wire gauge and coil count as the old one, or one that’s been calculated for the door’s actual weight. A tech who measures the door and checks the color code on the old spring is doing it right. A tech who eyeballs it is not.
What to Ask Before the Work Starts
- “What’s the written price before you begin?” If the answer is anything other than a number on paper, find another company.
- “What’s your guarantee on this repair?” You want a written answer, not a verbal one. Your repair is covered in writing for 365 days. If it fails in that window, the company returns at no charge. That’s the standard.
- “Do you carry the parts for my door brand on the truck?” A company that services LiftMaster, Chamberlain, Genie, Clopay, Amarr, Wayne Dalton, Craftsman, and Raynor should have the common parts in the truck. If the answer is “we’ll order it,” that’s a second trip and a second window you have to be home for.
How to Verify Before the Tech Leaves
- Run the door through a full cycle, twice. It should move smoothly, without jerking or hesitation.
- Do the balance test yourself. Disconnect the opener, lift the door, and confirm it stays where you put it. If it drops, the springs aren’t right.
- Check the area. Good technicians leave the garage floor as clean or cleaner than they found it. This matters more than most homeowners think. If a technician is careless with your floor, they were careless with your door.
- Review the written guarantee before the tech drives away. Know what it covers and for how long. If the company won’t put it in writing, do not let the work proceed.
Every technician we send to a Hempstead home has passed a background check and wears a uniform. You know who’s at your door before you open it. And the written price is handed over before any work starts, with the 365-day guarantee documented on the invoice itself. That’s the standard anyone hiring a garage door company should hold out for.
Hempstead-Specific Factors That Change the Equation
Hempstead’s climate, housing stock, and local conditions create a few factors that affect the DIY-versus-professional decision in ways that a generic guide misses.
Coastal moisture and corrosion. Hempstead sits a few miles from the Atlantic, and the salt air accelerates corrosion on anything metal exposed to the humidity. Garage door hardware, meaning springs, cables, hinges, and track brackets, rusts faster here than it does 20 miles inland. A spring that’s corroded is more likely to snap without warning, and a cable with rust pitting is closer to failure than the same cable in a drier climate. Homeowners on the south side of town, in the neighborhoods closer to the water, see this more than those north of Hempstead Turnpike. The practical takeaway: inspect your springs and cables more often than the manufacturer’s recommended annual check, and if you see orange staining on a spring’s coils, treat that as a warning sign, not cosmetic wear.
Older housing stock and non-standard doors. A significant portion of Hempstead’s residential garages were built as part of the original home construction between the 1940s and the 1970s. Those doors are often non-standard sizes, and the mounting points and track systems reflect decades of incremental modifications. A homeowner researching a spring replacement online will find instructions written for standard 16-foot-wide-by-7-foot-tall doors. A 1952 Hempstead door might be 15 feet wide or 6 foot 6 tall, with extension springs that don’t match any current off-the-shelf sizing. That’s not a DIY project with a YouTube tutorial. It’s a custom measurement job.
Temperature swings and spring life. Garage door springs are rated in cycles, not years, but humidity and temperature fluctuation both shorten the effective cycle life. Hempstead’s freeze-thaw winters, where the temperature crosses the freezing point repeatedly, stress the metal through repeated expansion and contraction. In our experience, a spring that would last 12 to 14 years in a dry climate often fails at 8 to 10 in Hempstead’s coastal humidity. The fix isn’t to replace springs more often, it’s to replace them with higher-cycle-rated springs when they fail. A 25,000-cycle spring costs a little more than a 10,000-cycle spring, but it lasts the life of the door in a Hempstead garage.
Attached garages and carbon monoxide exposure. Many Hempstead homes have attached garages with living space above. A garage door that doesn’t seal properly or an opener that doesn’t reverse correctly is a code issue and a carbon monoxide issue. The door is part of the home’s air envelope. DIY repairs that leave the door out of balance or the safety sensors disabled compromise that envelope.
For opener-specific issues, from circuit board failures to gear and sprocket replacement, the scope is covered in detail on our Garage Door Opener Repair in Hempstead page. And for cable failures specifically, see Garage Door Cable Repair in Hempstead.
Common Mistakes to Avoid
- Using a screwdriver as a winding bar. A screwdriver shaft is round and smooth. The winding cone hole is square. The screwdriver slips, the cone spins, and the stored energy releases against your hand. If you take nothing else from this guide, take this: never put anything that isn’t a proper winding bar into a winding cone.
- Disconnecting the opener while the door is up. Pulling the emergency release cord with the door in the raised position lets the door free-fall. If the springs are weak or broken, that door comes down with its full weight. Always lower the door first, then pull the cord.
- Lubricating with WD-40. WD-40 is a solvent, not a lubricant. It strips away the existing grease and leaves the metal dry. For garage door hinges and rollers, use white lithium grease or a dedicated garage door lubricant. Spraying WD-40 on a squeaky roller silences it for a week and then makes the underlying wear worse.
- Adjusting the opener force to compensate for a failing spring. If your door struggles to lift, the problem is the spring, not the opener. Crank the force up and the opener’s gears grind against each other until the gears strip. The door closes, and then it doesn’t open again. Diagnose the spring first, not the opener.
- Replacing one spring on a two-spring system. Doors with two torsion springs wear them both at the same rate. When one breaks, the other is close behind. Replacing only the broken one leaves an old spring paired with a new one, and the door runs out of balance. Replace both.
- Skipping the safety cable on extension springs. If you’re determined to work on extension springs, and if the door doesn’t have safety cables running through the center of the springs, install them. A broken extension spring without a safety cable becomes a projectile. With a safety cable, it flails through the last few inches of its arc and stops. This is a simple retrofit and it’s the single most important safety improvement an older Hempstead garage can get.
See the difference
 Before
 After
After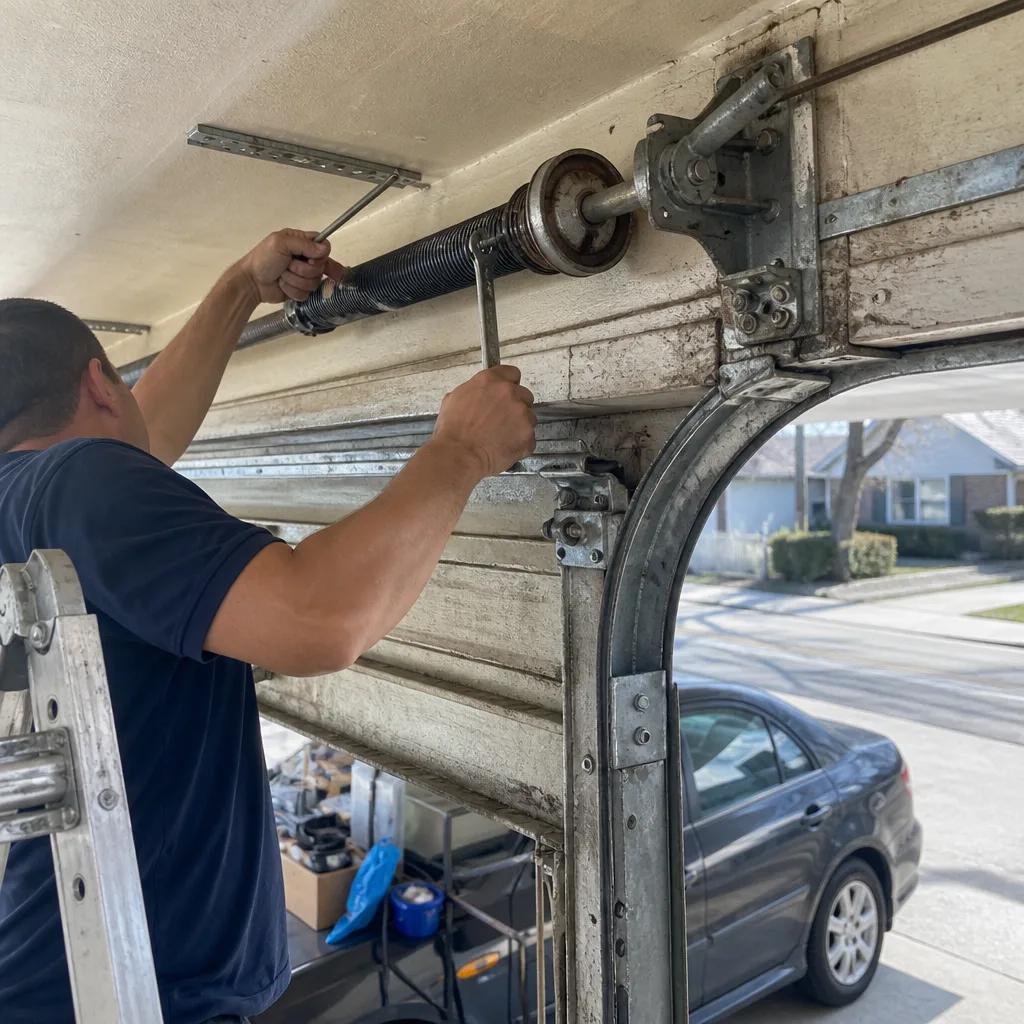 Before
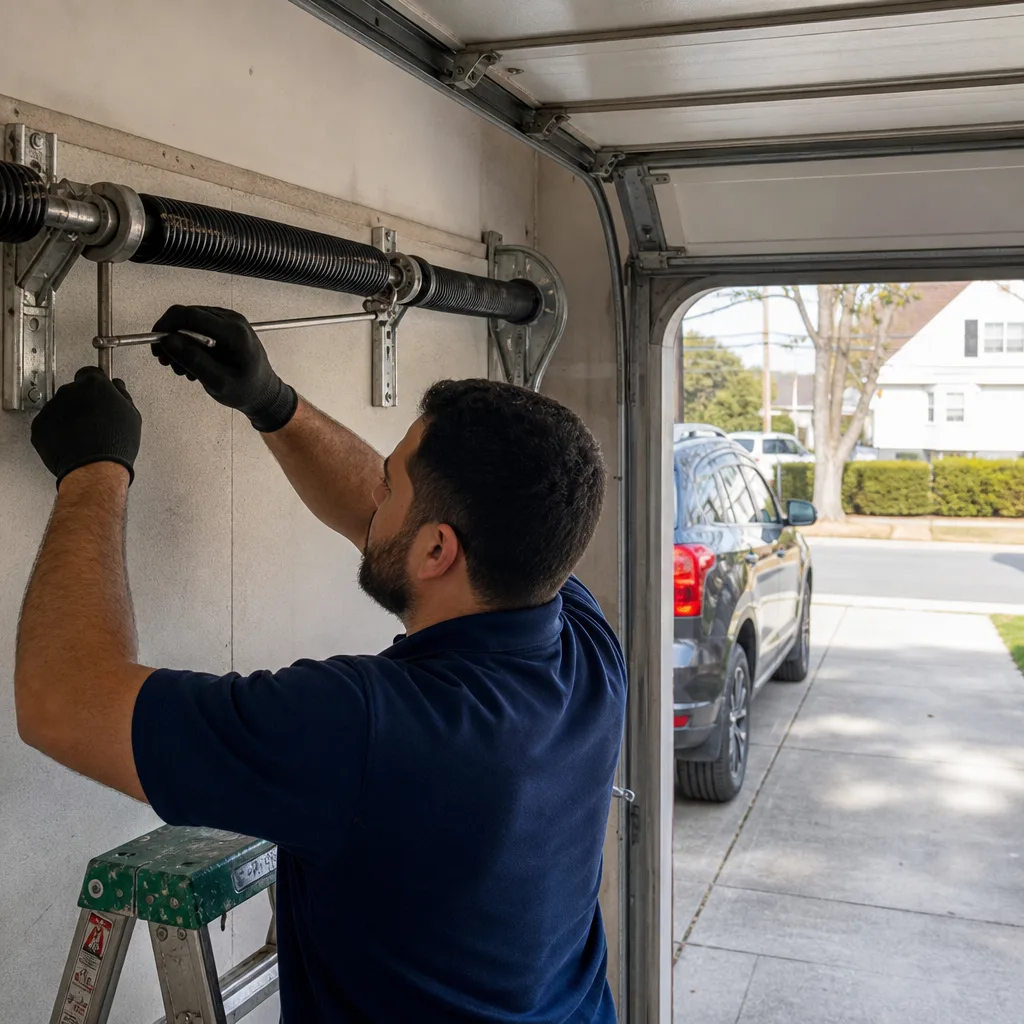 After
After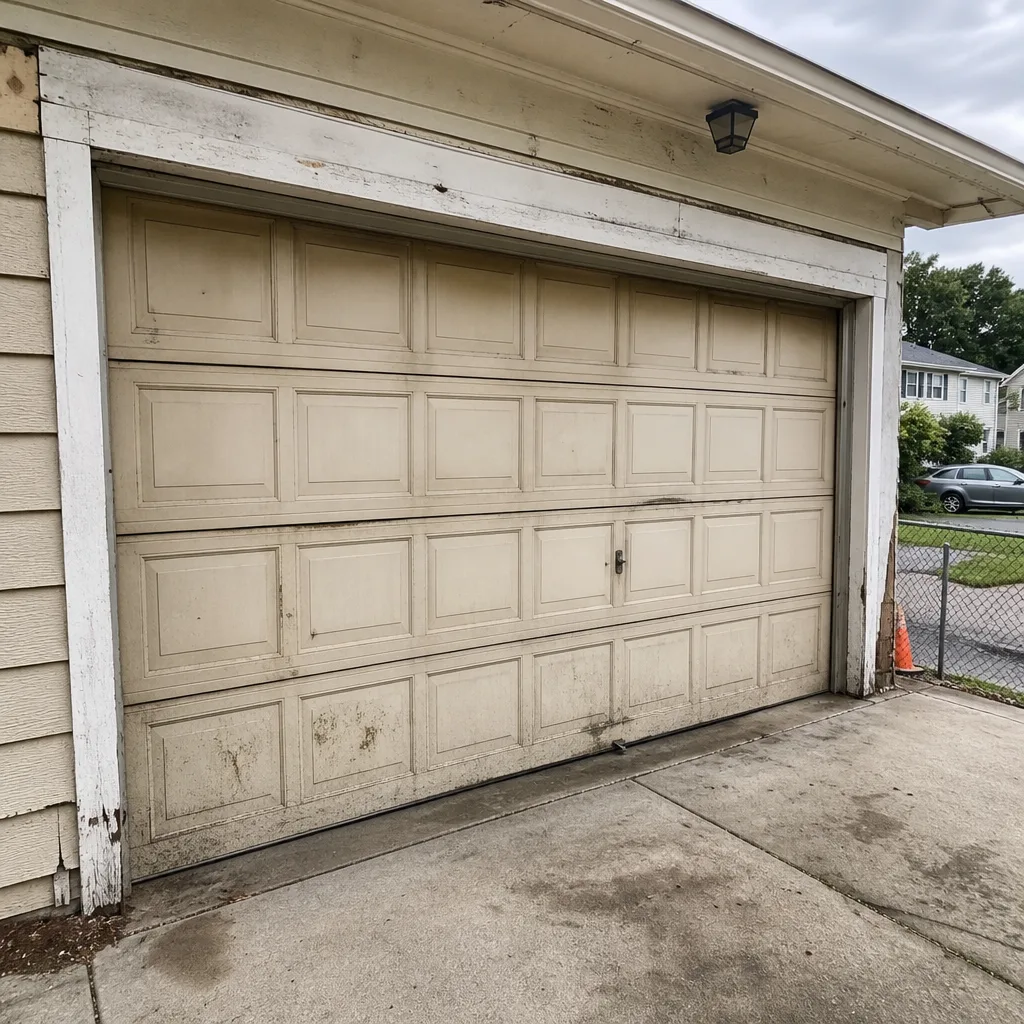 Before
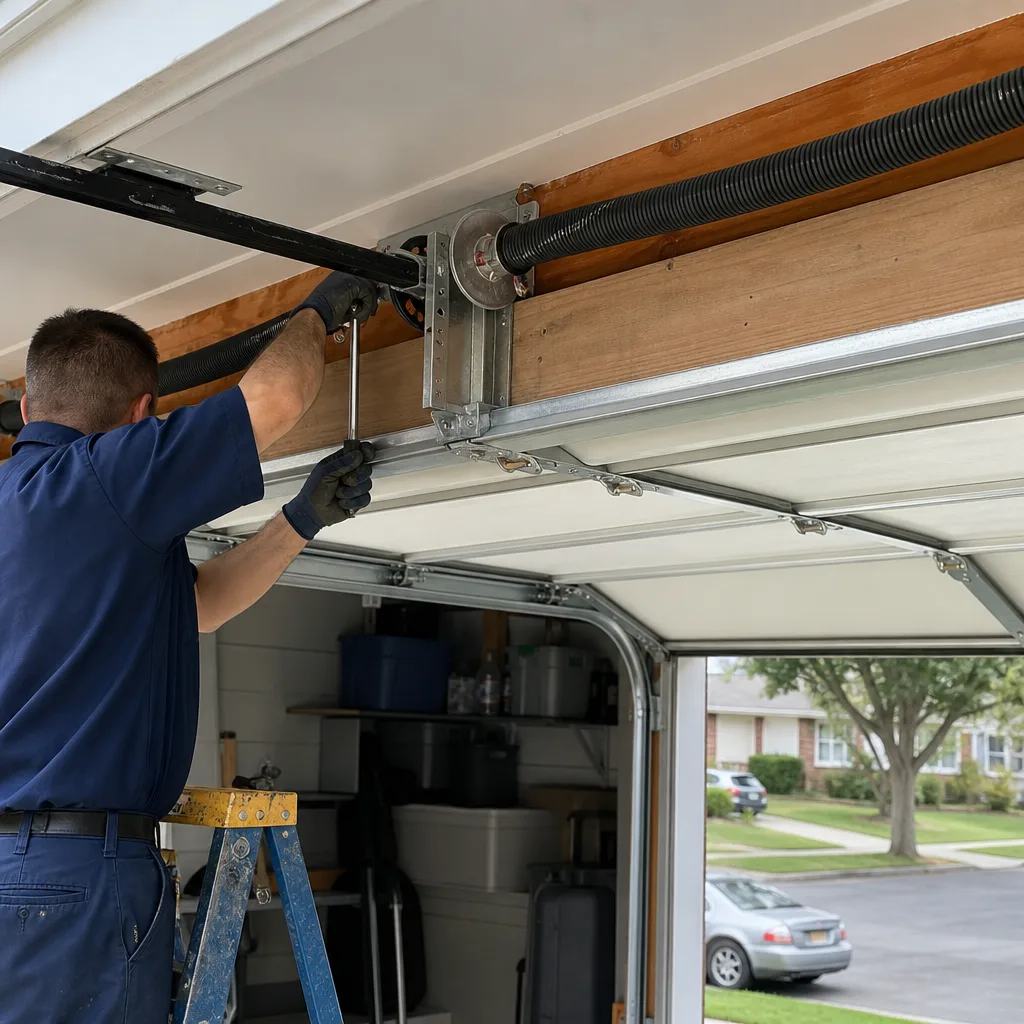 After
AfterWhen to Call a Professional
Call a professional when the component you’re about to touch is under spring tension or bearing the door’s weight. That’s torsion springs, extension springs, lift cables, bottom brackets, and track removal. Call when the door is out of balance and you can’t identify why, when a spring is visibly corroded, when the door opens unevenly, or when you hear a loud bang from the garage and find the door won’t move. Those are cable or spring failures, and the diagnosis itself is dangerous if you start removing parts.
Call when you want a written price before work starts and a written guarantee after it’s done. Brock Garage Doors Hempstead offers free estimates in Hempstead, and a live person answers at (516) 559-5490 around the clock. We’re an independently owned and operated location that agreed to work to The Garrison Standard: show up in the window, price in writing, do it by the book, leave it clean, stand behind it for a year.
Frequently Asked Questions
You can, physically. You shouldn’t. Torsion springs are wound under 100 to 250 pounds of torque each, and the winding bars that release that torque need to be sized precisely and seated fully. A slip is not a failed repair. It’s a projectile. The cost of professional replacement in Hempstead runs $180 to $340, and the risk of doing it wrong starts with a hospital visit and goes up from there. Call (516) 559-5490 for a free estimate.
Most torsion spring replacements in Hempstead run $180 to $340, depending on the spring size, the door’s weight, and whether it’s a single or double spring system. Cable repairs run $150 to $275. These are the prices we quote in writing before any work starts, and the repair carries a 365-day guarantee. If it fails inside that year, the follow-up is free.
Yes, in most Hempstead jurisdictions. A full door replacement is classified as an alteration and requires a building permit, regardless of who does the work. Spring, cable, and opener repairs that don’t alter the door or opening don’t require permits. Call the Hempstead building department to confirm before starting any door replacement project.
Lubricating hinges and rollers, cleaning tracks, aligning safety sensors, replacing weather seals, and testing the door’s balance are all safe for a careful homeowner. None of those tasks touch components under spring tension. If your balance test shows the door dropping from shoulder height, the springs need professional attention.
No. The written price is handed to you before any work begins, and the number on the invoice matches the number you approved. If we find something unexpected during the repair that requires additional work, we stop and get your approval on a new written price before proceeding. That’s the Garrison Standard, and it’s non-negotiable for every job we do in Hempstead.
Yes. Our technicians arrive with common parts for LiftMaster, Chamberlain, Genie, Clopay, Amarr, Wayne Dalton, Craftsman, and Raynor systems on the truck. For Hempstead’s older non-standard doors, we may need to order a specific-sized spring or cable, but the common failure points are stocked and replaced same-visit.
The Bottom Line
Garage door DIY isn’t a yes-or-no decision. It’s a line drawn through the door’s mechanical system, with passive maintenance on one side and tension-bearing components on the other. Lubricate, clean, align, and replace seals yourself. Let a professional touch springs, cables, and track work. The distinction isn’t about how handy you are. It’s about stored energy and the tools required to work with it safely. In Hempstead, where coastal humidity accelerates hardware wear and older doors present non-standard sizing, the professional-only side of that line matters even more. A written price, a written guarantee, and a technician who shows up on time are the standards to insist on, whether you’re hiring us or someone else.
Written by Wade Mercer, Owner at Brock Garage Doors Hempstead, serving Hempstead since 2001.